Congratulations on buying your new iGaugeBLE!
This guide will walk you through the installation process and how to use your new iGaugeBLE.
Tools required for installation are:
For all units 58-77:
Small 2mm flat screwdriver, a medium phillips screwdriver and a volt meter is optional.
For all units you will need to find a “Key-On” fuse for the +power wire and a good location to attach the -ground wire. Please click the button below if you need a wiring diagram for your model car(thanks to Everett at thesamba.com).
Again, congratulations on your purchase and I hope you will enjoy the ease of use and reliability of your iGaugeBLE for years to come. Installation is easy, requires no special tools, no permanent modification to your car and should only take a few minutes
These instructions will cover the installation and use of the two different iGaugeBLE styles which include the ‘58-60 models with the included attached gas cap(fig 1) and the ‘62-77 which do not include a gas cap-just the sender mounted in the tank(fig 2).
Fig 1
Fig 2
Let’s get started!
Included in your iGaugeBLE kit will be the fuel sender with the sender cable assembly and CPU connector already attached, an iGaugeBLE CPU box and another cable assembly in a bag marked with a +/- that also has a CPU connector already attached.
Step 1 - For the ‘58-61 iGaugeBLE, simply remove your stock gas cap from the fuel tank. Place the iGaugeBLE Fuel Sender with Gas Cap into the fuel tank and turn clockwise like you would with a stock gas cap. Mount it such that the wire connections face the rear of the car. Just like a stock gas cap, the iGaugeBLE sender will lock into place.
Step 1 - For the ‘62-77 iGaugeBLE, remove the five(5) screws holding the stock fuel sender in the gas tank. Have a towel ready as the stock sender unit may drip some gas. You can coil up or remove the stock cable that goes to the gauge in the dash. First line up the new gasket provided with the word “Top” marked on one side of the gasket with the center screw on top of the Sender. Then place the gasket and Sender in the gas tank and screw down using the five(5) new longer sender screws and washers included in your iGaugeBLE kit. Make these nice and snug but don’t over tighten.
Step 2 - Place the iGaugeBLE CPU box anywhere you like within cable length of the gas tank and sender. The CPU box is magnetic so there is no drilling, tape or velcro required.
Step 3 - Plug the Fuel Sender cable’s 3-pin connector into the front of the CPU box. There are keys on the connector so it can only fit one way and tighten the two screws using a 2mm flat screwdriver.
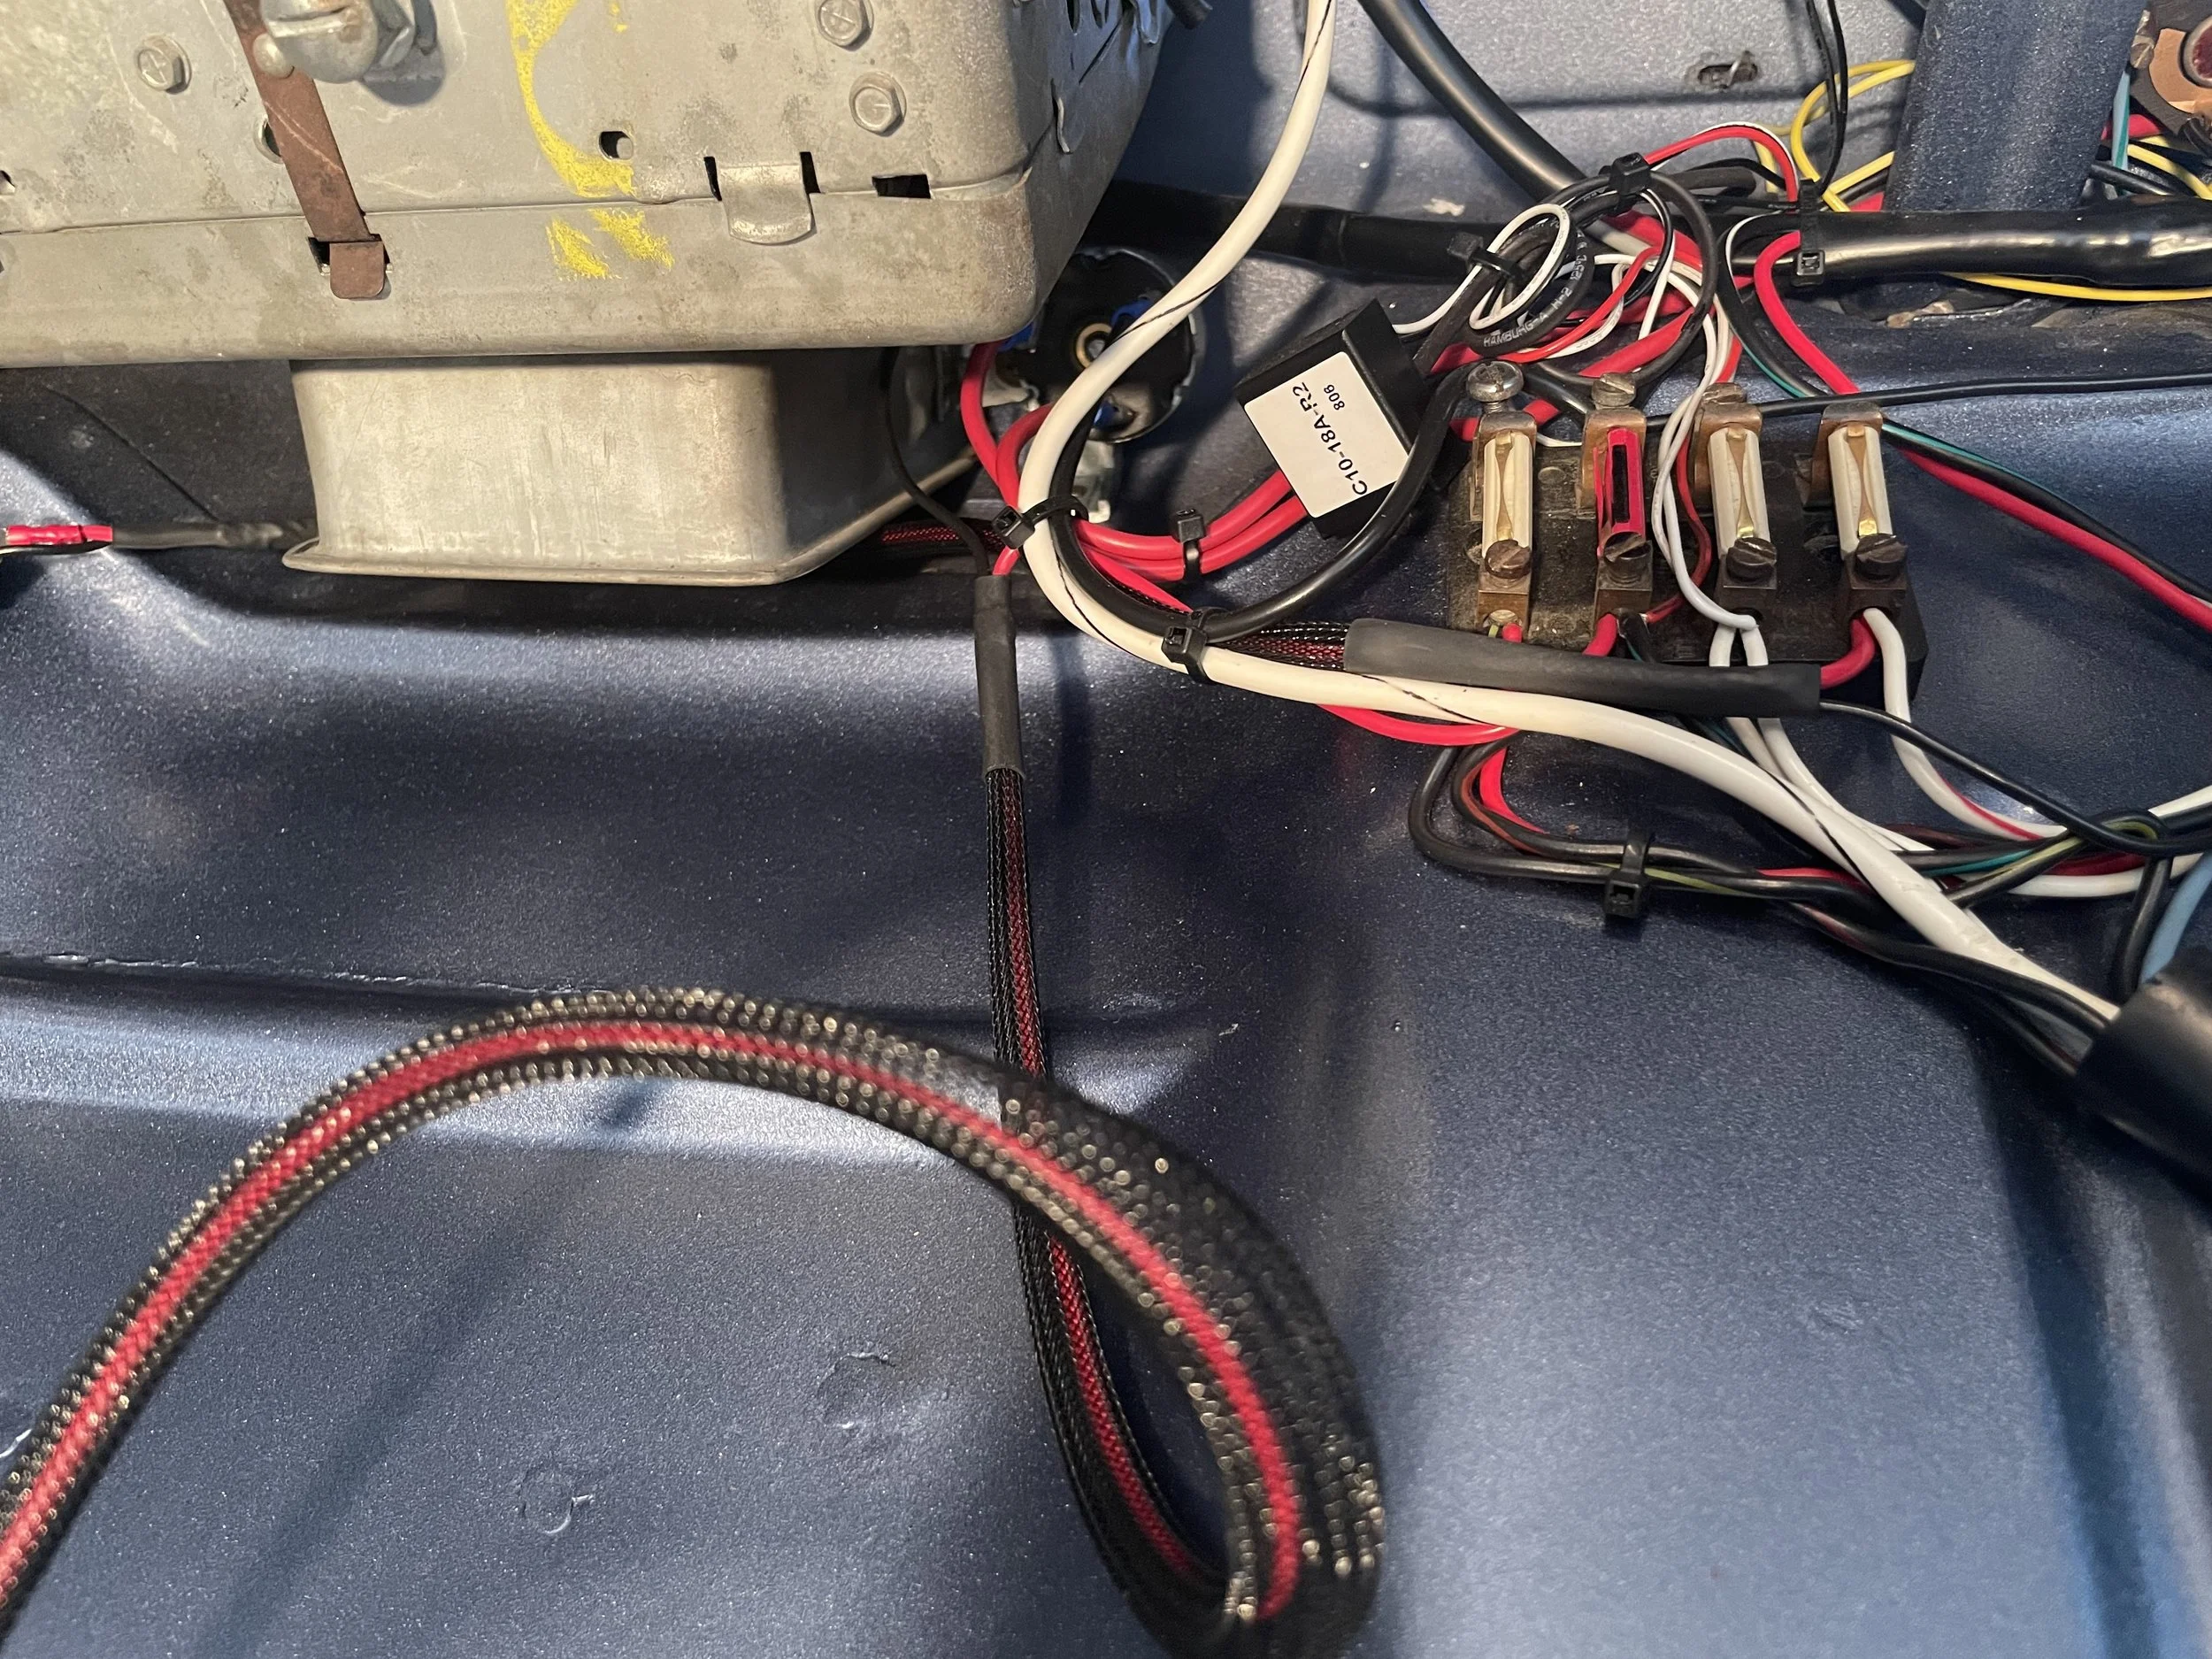
Step 4 - Find the supplied +/- power and ground cable and attach the 2-pin connector to the back of the CPU box and tighten the two screws using a 2mm flat screwdriver. Run the cable up to the fuse block and attach the Red wire to any “KEY-ON” available fuse. You can piggy back on any KEY-ON circuit as the iGaugeBLE draws very little. Next attach the Black cable to any convenient ground location. A speedo or ash tray mounting screw works great but whatever works for you is fine and make sure to make the connection nice and snug.
Step 5 - Make sure all connections are snug. Next, grab your iPhone and head over to the Apple App Store, search for iGaugeBLE and download the app. That’s it, you’re done!
User Guide for all iGaugeBLE models
Once your iGaugeBLE is installed, start your car(or go to the Acc position) and launch the app. On the first launch of the app it will ask you to allow the app to use Bluetooth on your phone. First select “Allow” then select the “Allow While using App” option(you can change this in the phones Settings). You will quickly see the Status light turn from red to green showing that the iPhone has connected to the iGauge CPU and within a few seconds you will see the needle move to display the gas tanks current fuel level. You can place your finger directly on the gauge face and swipe left and right to select a different looking gauge. I will be adding more choices as time allows. In the bottom left hand corner there is a Speedometer and you can select MPH or KPH by simply touching whichever you prefer to use. You are also able to run iGaugeBLE while you stream music to your Bluetooth speaker or stereo all at the same time.
Enjoy the ride!


